
Custom Value Preview in the Email Builder
Custom Value Preview in the Email Builder
2 min read
Introducing an exciting usability upgrade in our CRM's Email Builder! Now, effortlessly preview your email templates with filled-in custom values, offering a realistic glimpse into how your personalized messages will resonate with specific customers, ensuring a seamless and efficient marketing experience.
Custom Value Preview in the Email Builder: CRM's latest enhancement in the Email Builder now allows you to preview email templates with filled-in custom values, providing a realistic view of how your emails will appear to specific customers.👇🏻
⭐️ Why does it matter to your business?
Enhanced Usability: Easily visualize and understand the appearance of your emails with custom values, eliminating the need for guesswork.
Efficient Testing: Streamline the testing process by previewing templates with various custom values, ensuring accuracy before sending.
Customization Control: Choose specific contacts to preview, seeing how both standard and custom fields will display for a personalized and comprehensive view.
⭐️ How to Preview Custom Value in The Email Builder:
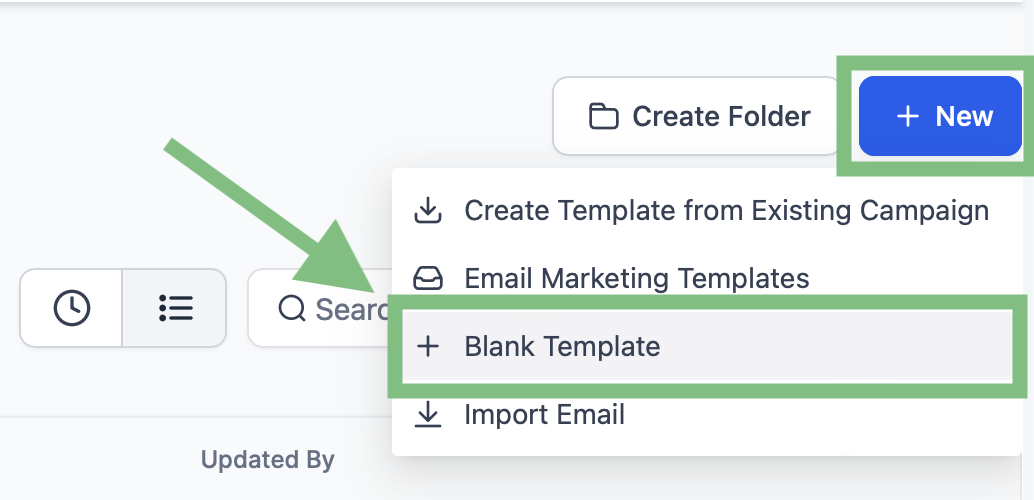
Go to marketing and select the email tab from the top menu bar. and click on new to create an email template or edit an existing one.

Click on the “Blank Template “ button to start from scratch.
Then choose the design editor to enter the email template builder.

Add the element from the list according to the requirements.
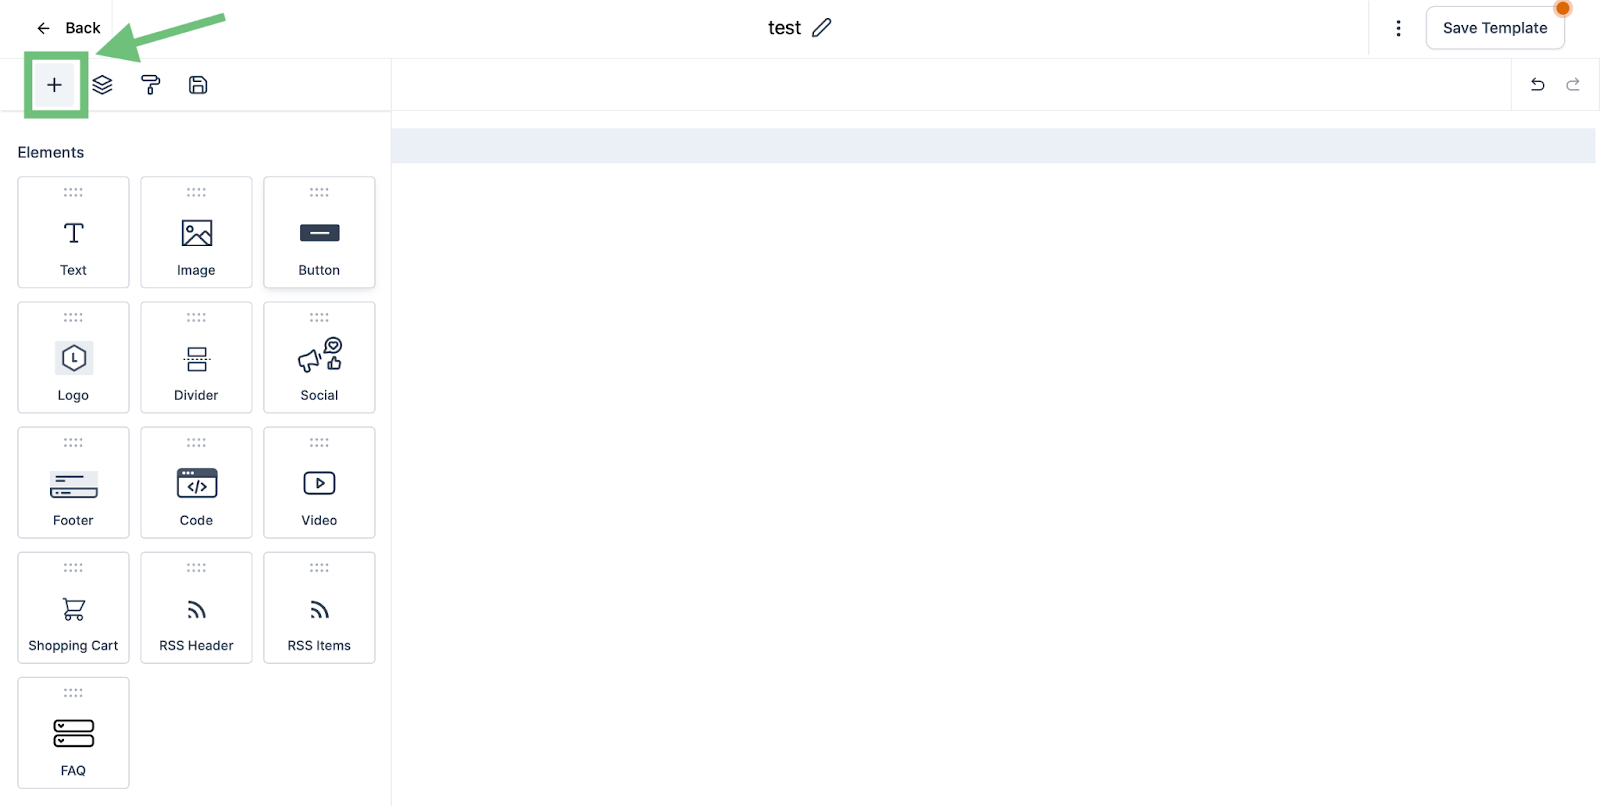
For example we are using the “Text” element. After adding the element we can use the tool bar.
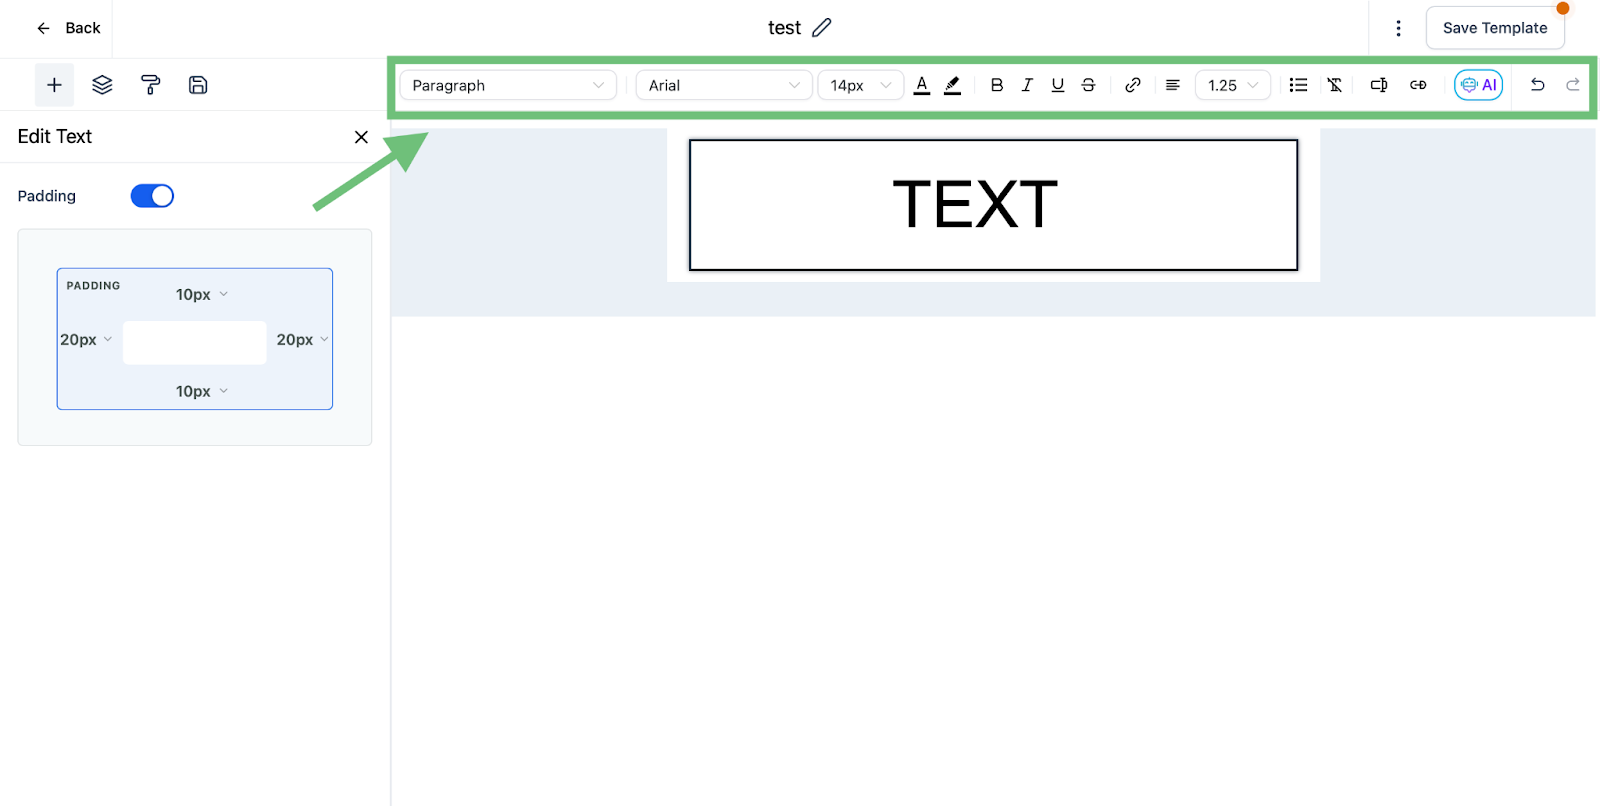
You can add custom values by clicking on the button shown in the image.

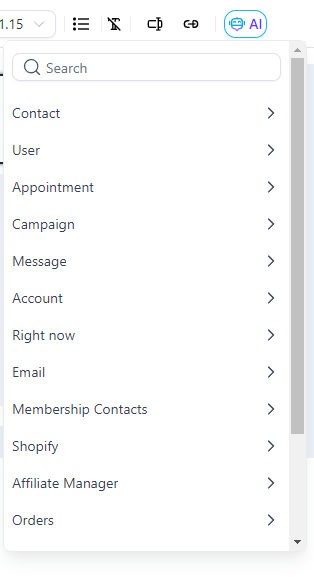
Select the custom values from the dropdown.
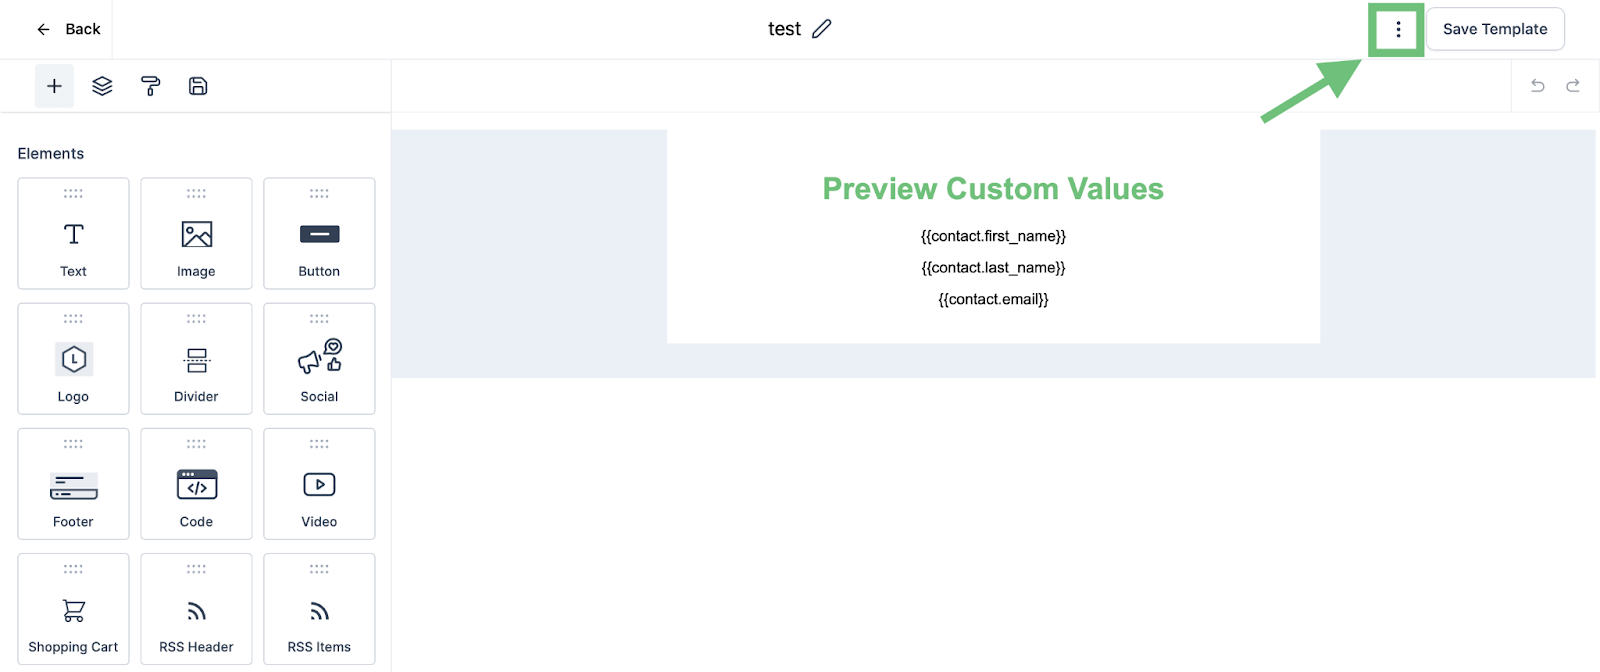
After adding the required custom fields. The custom fields will look like shown in the image.

Access the Preview Button. To preview the created template click on the three dots.
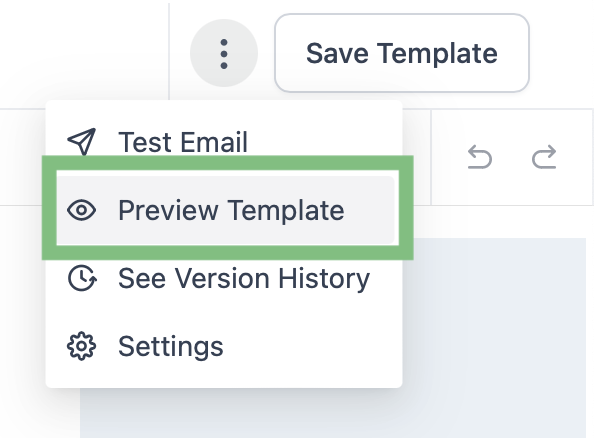
Click on the Preview template button.
When previewing the template, you will see the actual information like shown in the image.

